In previous article i describe How to install Open SSH in Windows 10 as Optional Feature and use it. Today i will continue with OpenSSH and i will describe step by step how can install OpenSSH Server in Windows 10 and configure it.
OpenSSH Server and client included in Windows 10 v.1809 and later and in Windows Server 2019
So let's start!!
How to Identify if Windows 10 Open SSH Server installed from GUI
Before start with the installation its better to identify if already OpenSSH Server installed.
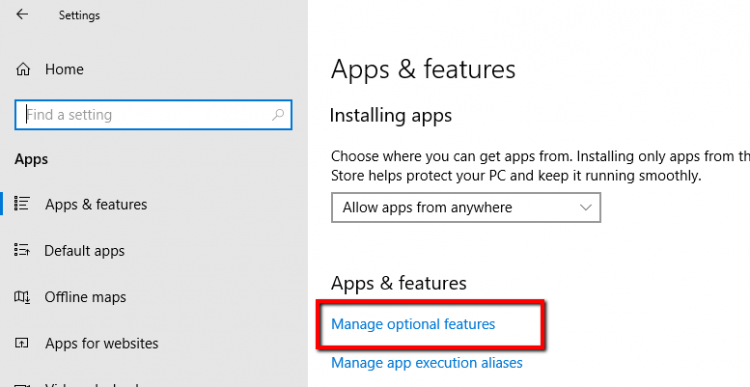
- Click Start and Gear Icon
- Click in Apps

- From the right side select Manage Optional Features.
- if you see Open SSH Server then it means that already installed.
- If you can't see this means that you must install the Feature.

How to Identify if OpenSSH Server installed from Powershell
If you like Powershell you can use the following command to identify if OpenSSH Server already installed
Get-WindowsCapability -Online | ? name -like "openssh*"
Check the State status to identify if is installed or not
- State:Installed means it's already installed
- State:Not Present means it's not installed

How to Install in Windows 10 the OpenSSH Server from GUI
After identify that OpenSSH Server it's not installed we can proceed to install the OpenSSH Server
- Click Start and Gear Icon
- Click in Apps
- From the right side select Manage Optional Features
- Click Add Feature
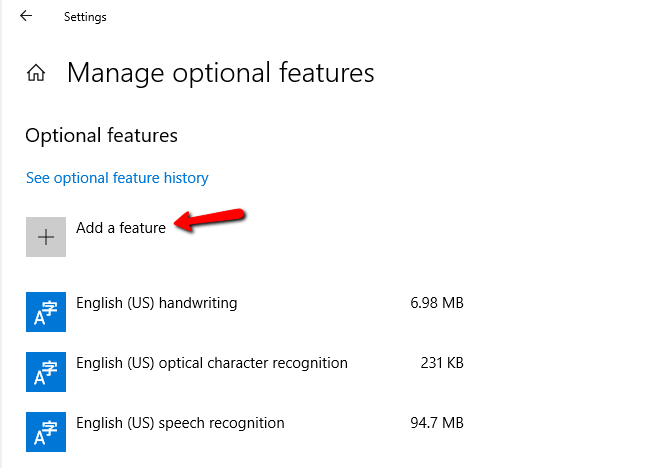
- Find and click Open SSH Server
- Click Install

How to Install in Windows 10 the OpenSSH Server from Powershell
If you would like to proceed the installation of OpenSSH Server from Powershell you can do it with one command.
Type the following command and wait to finish the installation
Add-WindowsCapability -Online -Name OpenSSH.Server~~~~0.0.1.0

How to start and Configure in Windows 10 the OpenSSH Server
Now it's time to Configure OpenSSH Server to start use it.
- Open Powershell command as Administrator
- Type the following command to start the Service of the OpenSSH Server
Start-service sshd - Type the following command to add Automatic Startup in Service
Set-Service -Name sshd -StartupType 'Automatic'- Type the following command to find the Rule for OpenSSH Server in Windows Firewall and verify that is Allow
Get-NetFirewallRule -Name *ssh*

How to connect with ssh from Linux to Windows 10 OpenSSHServer
The reality with ssh is that most of them use it with Public key authentication instead of password authentication because it prevent attacks.
But by default after the installation the OpenSSH Server use password authentication.
We will keep the password authentication to be able to connect through the configuration that must be done to use the Public key authentication
So for the best practices and better security let's explain how can generate ssh keys and use it to connect in OpenSSH Server
- Login in Windows 10 OpenSSH Server and create the users that you want to connect.
- If you have Domain users and have already decide which should be connect then avoid the previous step
- Login in the Linux that you will use it to connect in OpenSSH Server
- Type the following command to start generate the keys
- ssh keygen
- It will ask how you would like to save the file name but you can leave it as the default and click Enter
- Also it will ask to create a passphrase.
- Just write down a passphrase and keep it in a safe place because it will ask when you will connect in OpenSSH Server.

- Now if you type ls to see the files and folder of the ssh directory you will see 2 files. These are the private key and the public key with the extension .pub
- id_rsa
- id_rsa.pub

- To be able create the authentication must be copy the public key in the Openssh Server in the following path of the user which will connect from Linux. Note that we must have create the user before proceed with this step.
- The name of the public key file must be authorized_keys in the .ssh folder
- C:\Users\<username>\.ssh
- So let's type the following command from the Linux which create the ssh keys and replace the user1@192.168.50.151 with your username and ip address of the opensshserver
- scp ~/.ssh/id_rsa.pub user1@192.168.50.151:"c:\users\user1\.ssh\authorized_keys"

- Login in the Openssh server and verify that the authorized_keys created in the .ssh of the user folder.
- Now we must configure the permission of the authorized_keys because if you try to connect as it you will get an error Permission denied (publickey,keyboard-interactive)
- If we check the permissions of the authorized_keys file we will see that has access the user which will connect in my scenario is the user1 and the Domain Administrator.
- But these users must be removed.

- If you search in Google you will find most of the Blogs and forums to say that you can download the Powershell module OpenSSHUtil but this module has been deprecated and if you try you will fail to downloaded
- Before try to remove the access from users in the authorized_keys file must be disable the inheritance. If you don't do it and try to remove the users with icacls command then you will get the info that succesfull proceed with the file but if you will check the permission will be the same without remove the users.
- Right click in authorized_keys file -- Properties.
- Click Advanced button.
- Click Disable inheritance.
- Click Convert inherited permissions into explicit permissions on this object.

- Login again in Linux which will use it to connect and type the following command to connect with ssh and password authentication for now
- ssh user1@192.168.50.151
- After connect type the following commands to remove the user access from the authorized_keys
- Icacls "authorized_keys" /remove user1
- Icacls "authorized_keys" /remove administrator

- Now type the following command to check the permissions in the file.
- Only these users must has access in this file
- icacls authorized_keys

- The last step is to disable the password authentication and enable the Pubkey authentication from the ssh_config file to be able authorized only with the ssh keys and not with password
How to disable password authentication in OpensshServer
After the basic configuration of OpensshServer to set Automatic the Service and verify the Rule in Windows Firewall you can proceed in more advance configuration.
Let's explain how can change configuration of Openssh server.
- Open Powershell as Administrator
- Type the command notepad.exe $env:PROGRAMDATA\ssh\sshd_config to open the ssh_config file

- Change the following lines with these values.
-
- PubkeyAuthentication yes
- PasswordAuthentication no
PermitEmptyPasswords no

- Then type the following commands to restart the Openssh Server service
- Stop-Service sshd
- Start-Service sshd

- Let's connect in Linux and type the command to connect trough ssh.
- If all works without issues you will see that ask the passphrase before connect

- Type it and the connection will be established.

If you failed to connect with Public key authentication then the better solution is to use Logs of SSH to identify the cause of the issue.
This has been change from previous versions and now the SSH Logs located in Windows Event Logs in stead of the C:\ProgramData\ssh\logs\sshd.log and you can find it in Application and Services Logs -- OpenSSH Logs

I hope my article to help you or explore something new or resolve a problem.
Have a nice weekend !!
I invite you to follow me on Twitter or Facebook. If you have any questions, send me an email at info@askme4tech.com
Sponsor
>

Free Tools for everyone


